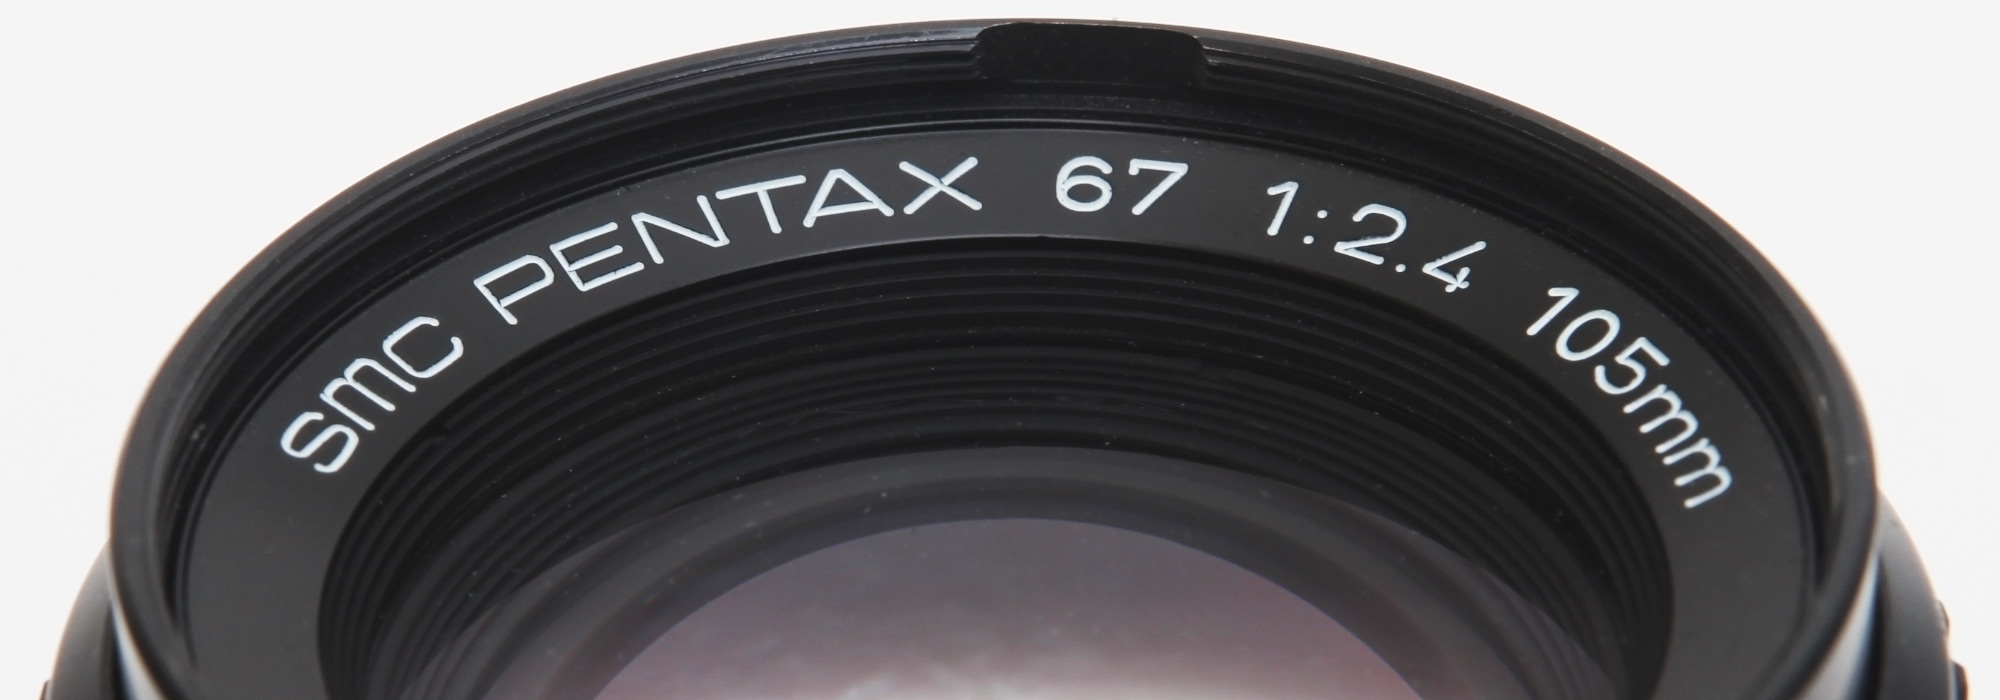
Initially, I did not plan to buy Pentax 67 105mm F2.4 lens, although its bokeh is deemed a gold standard for Pentax 67 and medium format cameras in general. I was quite satisfied (and am still satisfied) with my remarkable compact 90mm F2.8, which I had been using for many years by that time. It has become truly universal for me, a go-to during all my trips, with which I shoot literally everything, from portraits and street photography to landscapes and architecture.
However, I eventually decided to buy a replacement for my old and worn-out second camera body which I used as a backup. So, I found a very good offer but that camera was equipped with the Pentax 67 105mm F2.4 late edition.
It was out of my budget but I decided to buy this kit hoping to sell the lens after playing with it for some time. The reasons were (a) to earn some money and lower the overall price for the body by $300; (b) I did not need two standard lenses which would compete for the place in my backpack.
Thus, this lens became the fourth to come to hand. In practice, everything turned out a little different and I will keep it forever, I reckon.
Size and weight
The lens weighs 600g, just 110g heavier than its 90mm F2.8 fellow, which allows it to remain in the class of relatively light lenses in the Pentax 67 system. It’s also worth noting that medium-format lenses are generally quite heavy, and this difference in weight may seem insignificant.
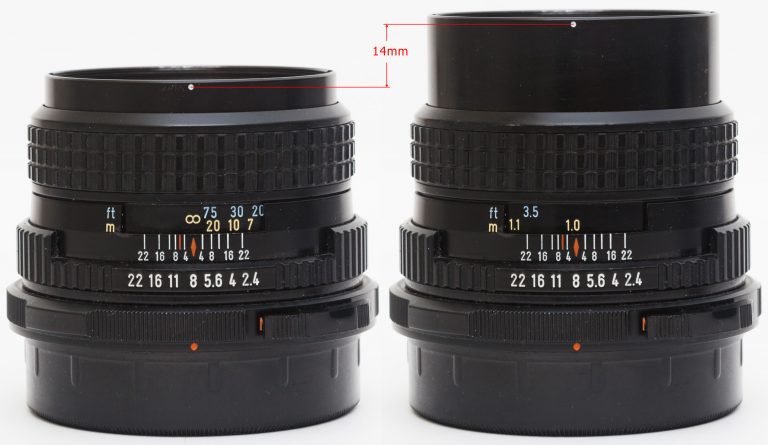
But during trips I have to be practical and mostly opt for the 90mm F2.8 lens because of its compactness. It is smaller than the 105mm lens by 15mm. But in the sense of usability, you won’t notice much difference while shooting with each of these two lenses, although the outcome will certainly differ.
Image quality
It is very difficult and odd to describe this lens from the “image quality” viewpoint, as it implies a certain quantitative measurement of the parameters that I do not take note of, and it is not necessary in this case. But, in terms of image sharpness, when being stopped down to F8-11, it takes a picture that is very similar to the 90mm lens at the same aperture. You can hardly distinguish the resulting images after some time. This lens is valued for other features — its fast F2.4 aperture and bokeh effect. But let’s describe one thing at a time.
Close focusing
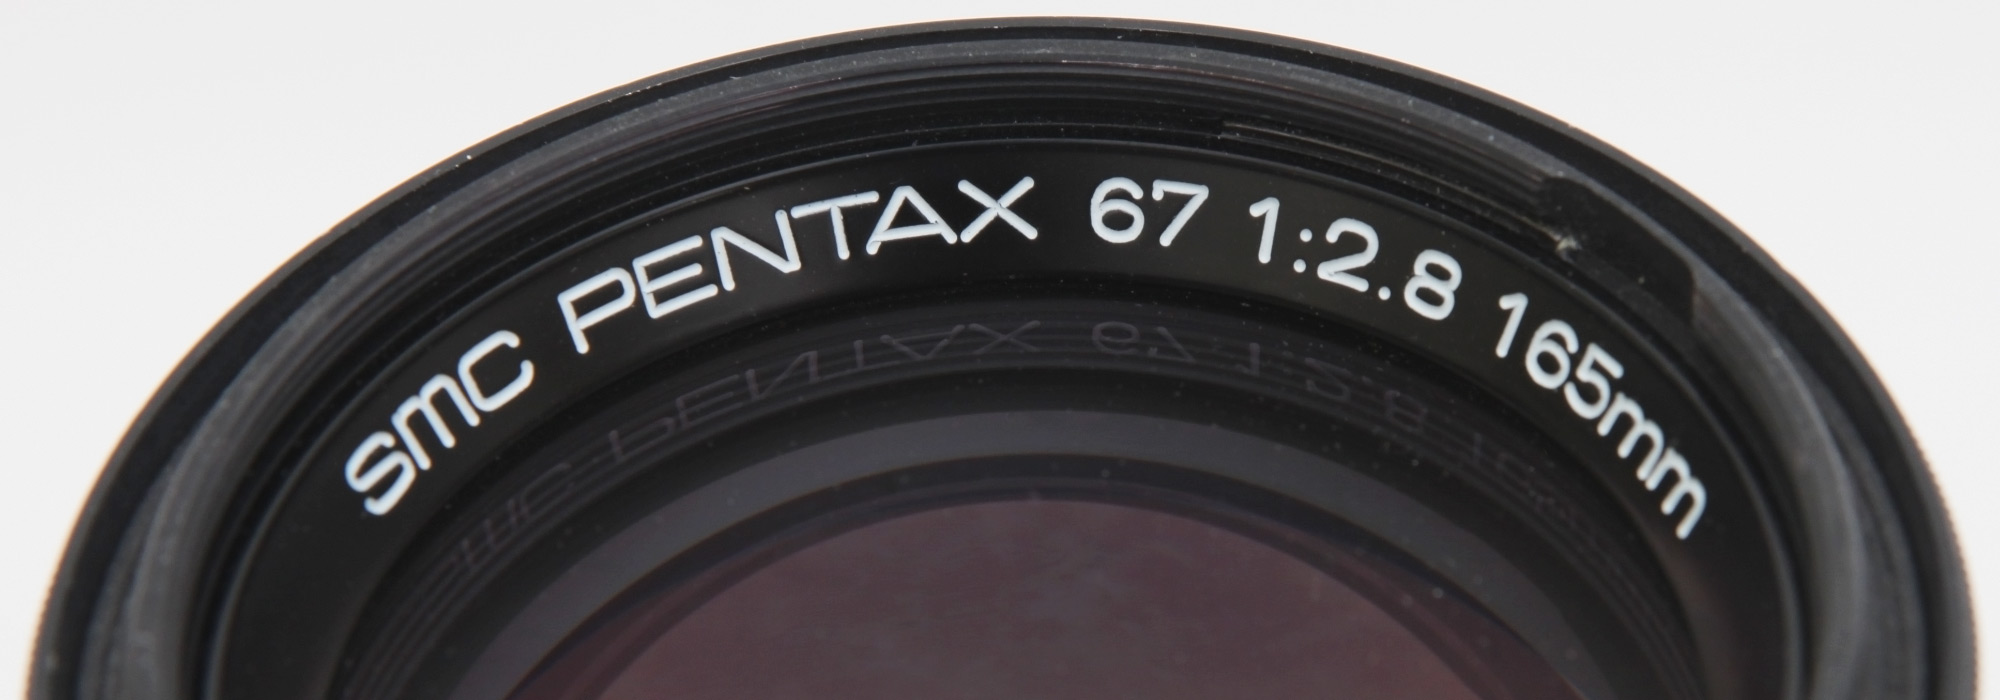
Its close focusing distance is just 100cm, as compared to 65сm in a 90mm lens. It gives 0.13× magnification ratio and the image area around 53×41cm, which is exactly the same as for 165mm F2.8.
It is necessary to use extension tube #1 to get more magnification when shooting close-up portraits.
Field of view
It covers 46° which is nearly equal to the FOV of a classic 50mm lens on the 35mm format. So, Pentax 67 105mm F2.4 is a classic standard lens.
Aperture
Pentax 67 105mm F2.4 has a 9-blade aperture, identical to the one used in the old Takumar 6X7 150mm F2.8, which was meant to complement the 105mm lens. Such an aperture configuration is really great for a smoother bokeh effect when the lens is stopped down.
But I rarely use it stopped down below F5.6 for taking portraits, so I will show several photographs shot with aperture opening up to F8.
Filters
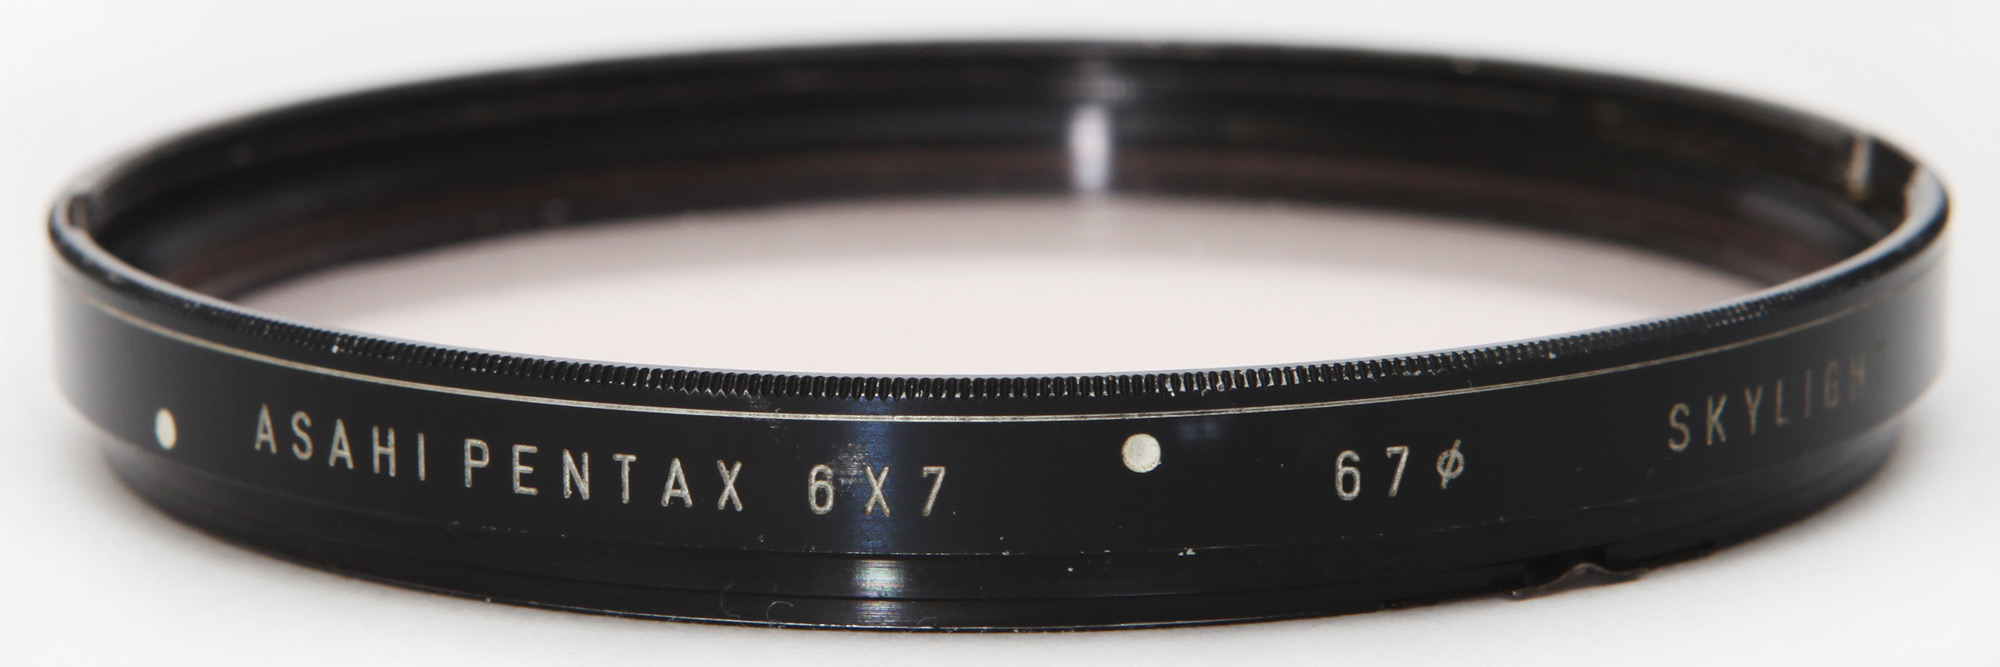
The lens has a 67mm filter thread which works fine with both screw-in and special bayonet mount filters.
Hood
The original clip-on plastic hood PH-SB 67mm costs around $50.
But I prefer using the PH-SA 67mm designed for the 135mm F4 Macro and 150mm F2.8 lenses.
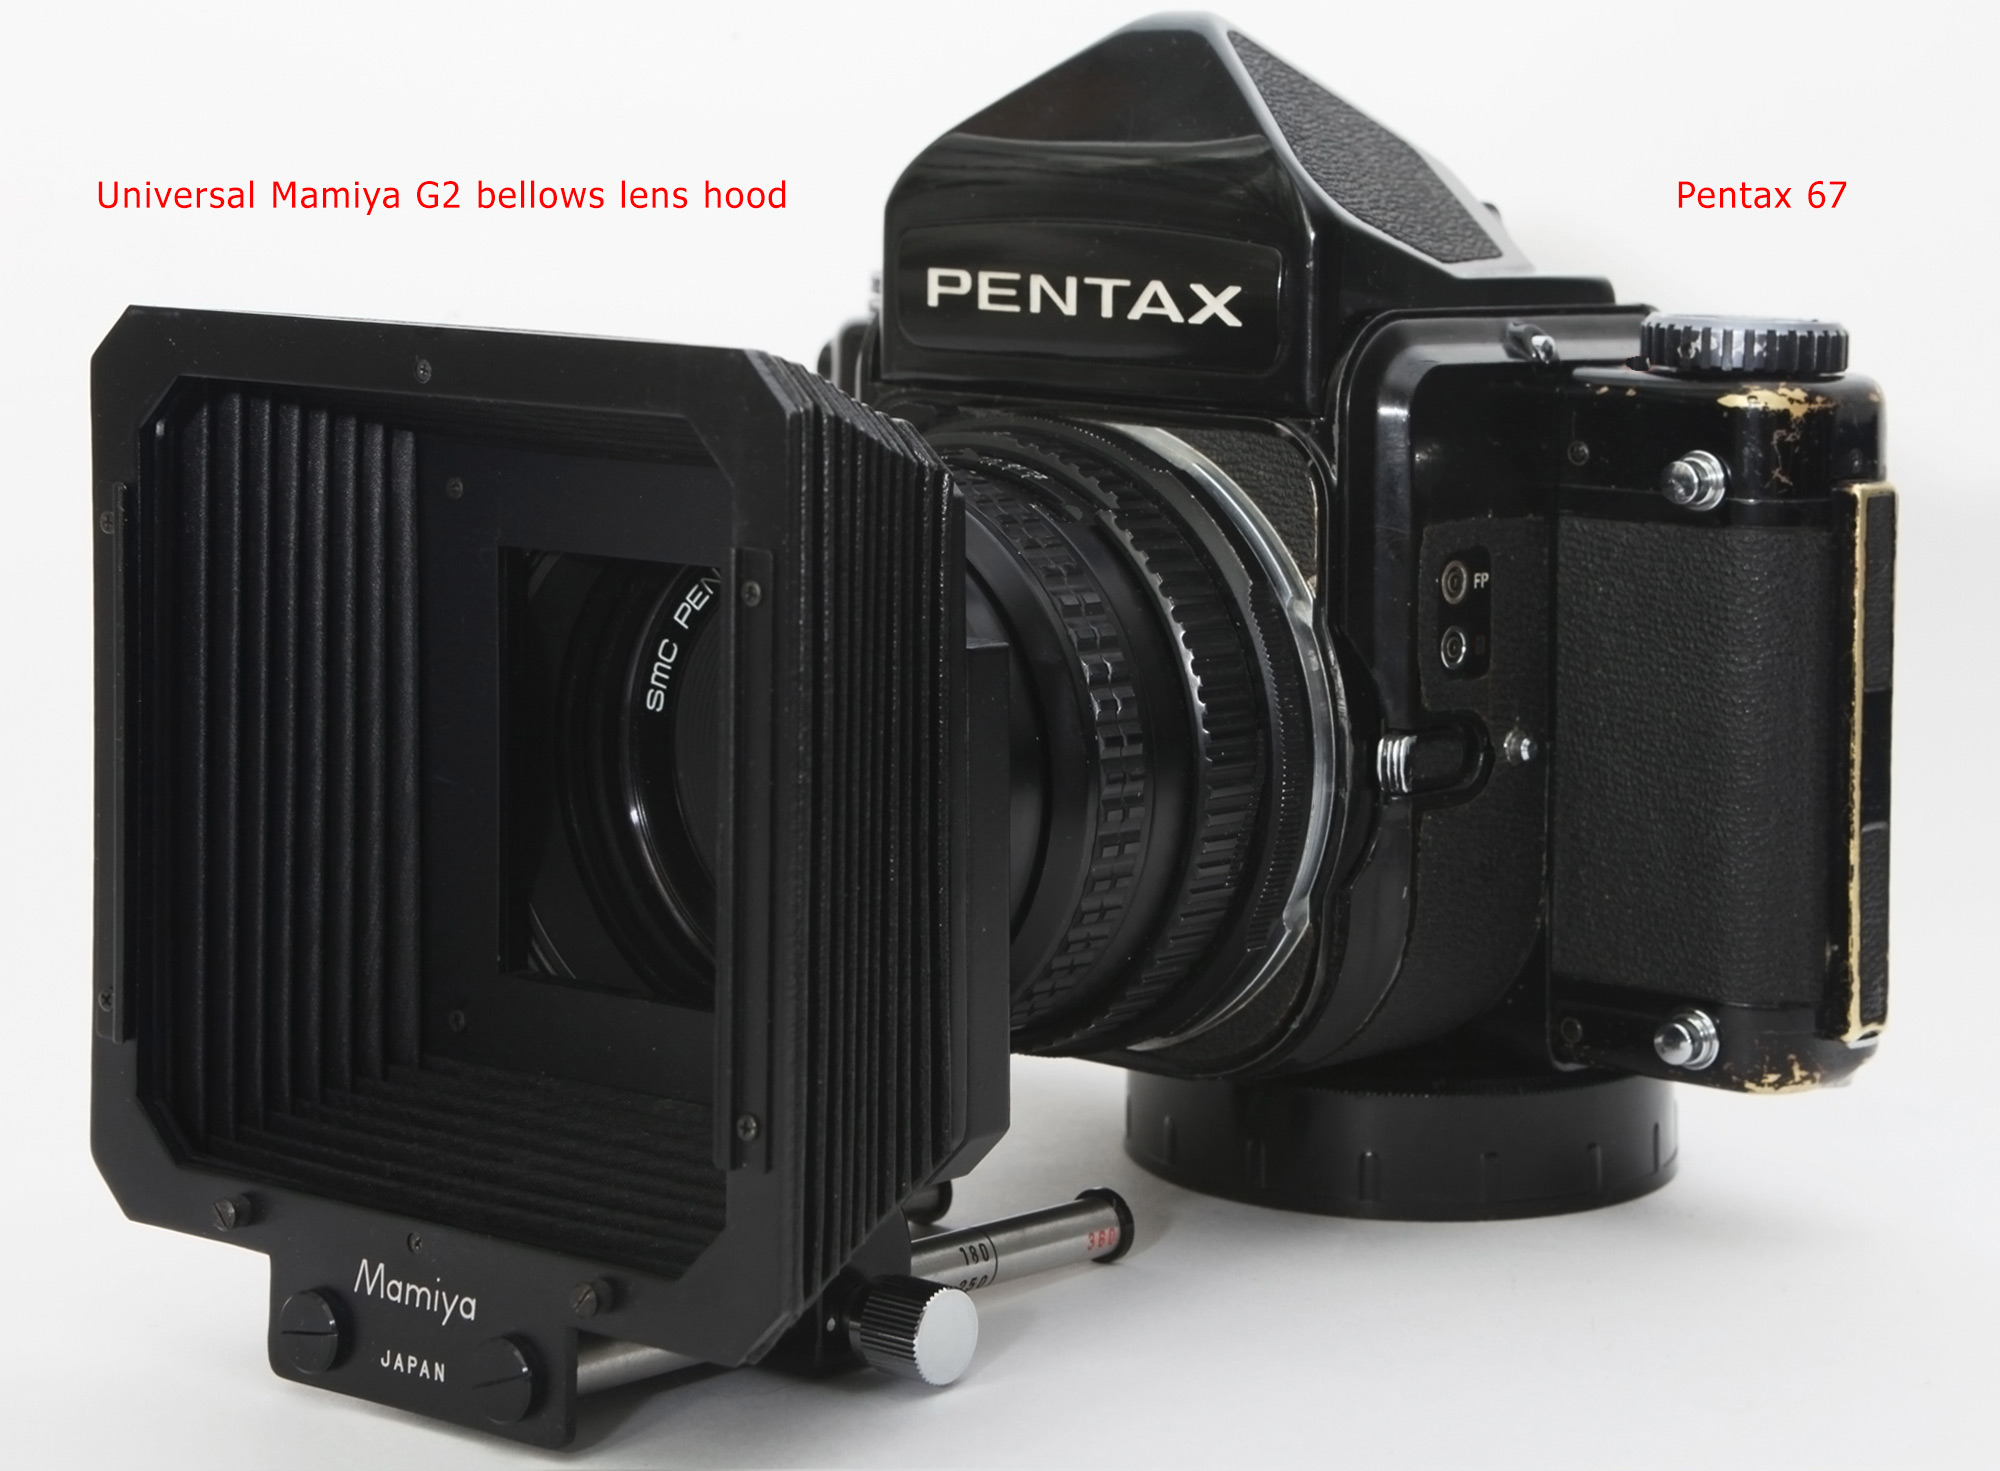
It doesn’t darken the corners on this lens too, even with filter. It also allows keeping only the one hood in my backpack for three lenses. Sometimes I use the Mamiya G2 bellows lens hood mounted with a special adapter.
Bokeh effect
At the fully open aperture, this lens creates a light, hardly noticeable swirl of the background, which I like very much. It adds a bit of “magic” to the bokeh effect making the 105mm lens stand out from its analogs even in other medium format systems.
A similar phenomenon is absent in the late 90mm F2.8 and 165mm F2.8 lenses, which are very good and also create a beautiful bokeh effect, but rather too “accurate” to my taste.
This lens has a smooth and very pleasant bokeh effect.
Other sample images
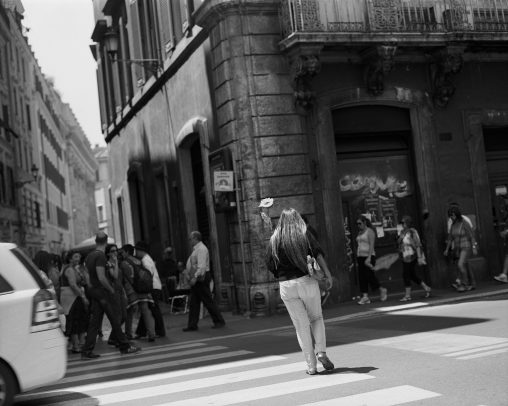
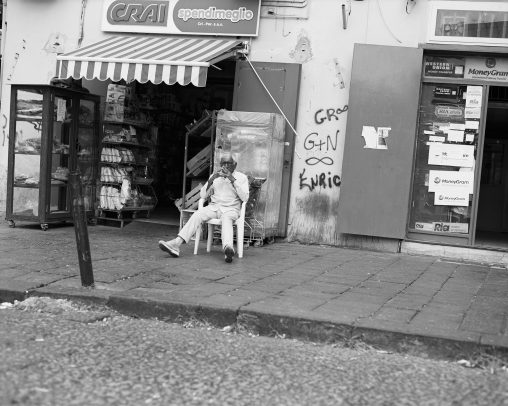
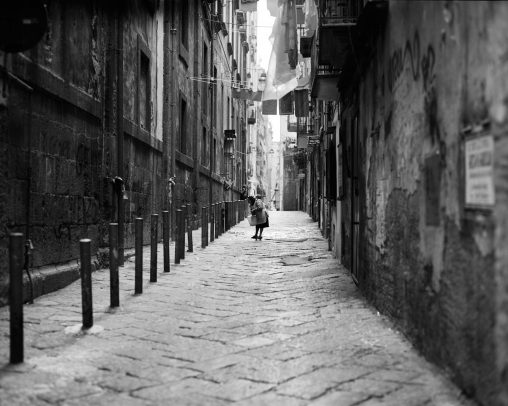
A bit of street photography performance.
Summary
It is difficult to give this lens an objective assessment after it received so many, mostly positive, reviews on the web. The lens has an F2.4 aperture, and that probably says it all. It was an absolutely unique feature at the time of the lens’s release in 1969, and it remains so now since no other lens with such maximum aperture has been released for the 6×7 frame size. Unless, of course, we consider different uncommon lenses such as Schneider Cinelux and others, which are not designed for Pentax 67, but can be adapted to it. It’s also worth mentioning that when Asahi entered the medium-format market, it simply had to create a lens with unique characteristics in order to gain a foothold on this market.
When I had only one lens, I had nothing to compare it with. Now that I have two standard lenses, it seems possible to make a direct comparison. But in fact, there is no need for this. For me, these are completely different lenses with clearly defined areas of application, which, in my view, do not really overlap. Although, you can certainly buy any of them, and just use it without going into much detail.
I mostly use Pentax 67 105mm F2.4 lens at the open aperture and occasionally at F3.5-4 when I have an even-colored background, so that the stopping down does not make it more “pronounced”. Although its constant comparison with 90mm F2.8 cannot be avoided, but I have defined for myself that I always shoot portraits of a large and medium-sized (medium shot or waist shot), at a distance of up to 4m with 105mm lens, and all the rest, with 90mm lens. It certainly does not mean that I always carry both of them with me and that when the distance is more than 4m, I immediately change the lenses. But I usually know what I am going to shoot in advance so I choose the lens accordingly. If I want to snap a street photo, I take 90mm lens, if I have a portrait session, I will certainly take Pentax 67 105mm F2.4 lens. And if I go on a trip, I’ll certainly take 90mm lens for its versatility.
It is 105mm which became a real “portrait” lens for me. And not 165mm F2.8, despite officially being labelled as such. And I would even dare say that Pentax 67 105mm F2.4 is a lens for the sake of which one can change the entire system.
Pentax 67 105mm F2.4 lens data
- Focal length: 105mm
- 35mm equivalent: 54mm
- Aperture: 2.4 ~ 22 (9 blades)
- Close distance: 100cm
- Magnification: 0.13×
- Picture area: 53×41cm
- Exposure factor: ×1.28 (+0.36EV)
- Effective lens speed: 2.7 ~ 24.9
- Optical formula: 6 elements, 5 groups
- Field of view: 46°/37° (Diagonal/Horizontal)
- Filter: 67mm, screw-in and bayonet
- Hood: PH-SB 67mm
- Case: S90-100
- Dimensions: 92×60mm
- Weight: 0.6kg
Yellow tint and Radioactivity of older Takumars 6X7 105mm F2.4
Yellowing is a feature of the old versions of 105mm F2.4, SUPER-TAKUMAR/6X7, and Super-Multi-Coated Takumar/6X7 due to the use of radioactive thoriated glass in their manufacturing. The thoriated glass was a cheaper alternative to other non-radioactive varieties of optical glass with a high refractive index and to complex optical formulas.
However, not all S-M-C Takumars turn yellowish. According to my research, if the lens has a strong red-orange coating cast, it might be yellowed. The later editions of S-M-C Takumars with a purple-red coating cast might be not yellowed.
Yellowing causes color transmission to decrease and, of course, produce yellow-tinted images. So, the issue can be fixed by exposing the lens to direct sunlight or a UV lamp with a mirror or foil placed under the lens to improve the outcome of this procedure. Check out this article by Dalibor Válek to learn more about de-yellowing using two UV lamps and how the result depends on the exposure time. He also conducted some tests on light transmission before and after de-yellowing. This is a must-read article if you have yellow-tinted lens.
If I am wrong or you have more details about the yellowing and de-yellowing of 105mm F2.4, please correct me.
Pentax 67 105mm F2.4 resources
- More sample images in Flickr group and at Lomography
- Disassembling and assembling Pentax 67 105mm F2.4
P.S.
Thanks for reading! I would be very grateful if you point out my possible mistakes, add extra information, or just share your experience. Scroll down to the Leave a reply section and share your thoughts about it. Your opinion is important for me. I enjoy answering your questions as the answers may often benefit many other readers and the process of answering allows me to better piece together my existing knowledge and find ideas to improve my articles.



























Marek
Good text. Good photos.
Sasha Krasnov
Thank you, Marek!
Ian
Thank you for taking the time to write these posts. I’m putting together a Pentax 6×7 system, and your blog has been very helpful.
Sasha Krasnov
Thank you for visiting!
dirke
I agree with Ian 100 %
Andre
What an explanation! Great job.
I have the 105 mm and looking for wider (but not too wide) aperture (for street photos, and sometime for landscape).
How about 90 mm Leaf Shutter? Any good comparing non LS one?
How about 55 mm F4? Have you also tried?
Thanks!
Sasha Krasnov
Thank you Andre for the warm words.
I think 75mm F2.8 AL may be an interesting option for taking street photos. But it is expensive — at least the total cost of all my optics.
As for 90mm LS version, it is widely known the new 90mm is far better in case of optic quality and bokeh. The only one option the new 90mm lacks is multiexposure capability.
I’ve owned 45mm for some time and it is a great lens. Personally, I do not like wide-angle lenses a lot. When I was faced with a making decision of what wide-angle lens to buy, I’ve decided to get 45mm — it is lightweight and compact. But if you already have any of 90mm you would not need 75mm I think. The main reason — you will get only an 8° wider lens which you may compensate with your legs.
Max Nagel
Have you tried your Bellows lens hood with the SMC 55mm?
I find the lens hood that comes with it is just barley too short to block out flaring. Right now I have glued magnets to the hood and carefully attach painted black paint scrappers to block the slivers of flare lol!
Sasha Krasnov
No, I did not try this hood with wide-angle lenses, I have no any of the 55s. But the idea with magnets is really great! I have a hood for the 75mm lens and it works quite well with the 45mm lens when the corners of the hood have been slightly cutted.
Fabricio S. Giacomin
Bom dia!
Primeiro gostaria de agradecer ao Senhor Krasnov pelo blog. Tudo o que aprendi sobre Pentax 67 aprendi aqui com você. Tenho uma Pentax 67 com a 105mm 2.4, mas incrivelmente não tirei nenhuma foto com ela ainda por medo de não conseguir lidar com aquele monstro.
Sou apaixonado pelo médio formato e não me canso de olhar as fotos que você posta aqui no seu blog. Já li várias vezes os artigos e é muito agradável a forma como foi escrito.
As lentes do sistema pentax 67 são como uma obra de arte para mim, tenho gosto de possuir apenas pelo estado da arte em si, mas pretendo usar o sistema em breve e agora um pouco mais preparado. Peço aos amigos que entendam meu medo, a Pentax 67 é assustadora 🙂
Sasha Krasnov
Hi there!
Thank you very much, Fabricio! You’ve made a great choice. Have a nice shooting with your Pentax 67 and 150mm F2.8! I will be happy to see your images. Fill free to ask me about the camera and the system 😉
Antonio Fedele
Both this and the 90/2.8 review are very interesting.
I have a Super Takumar 105/2.4, yellowed and radioactive. I’m thinking of selling it and getting a non radioactive lens, so the choice is between the 90 and a non radioactive SMC Takumar 105. The problem is I wouldn’t know how to pick a non radioactive one online! Serial number maybe?
Ciao
Sasha Krasnov
Thanks for the reading! Considering decision between 90mm and 105mm — I think you will need at least to answer on a question like “what is the primary field of your interests with this lens”. Both lenses are outstanding. But 90mm is a more generic lens suitable for any use including closeup portraits, while the 105mm lens is a better performer over 90mm in case of shooting portraits. As for me, typically I use 90mm only in travels, street photo and for landscapes, and 105mm only for portraits. But it is only my decision on how to use these lenses, so I have both. If someone would ask me about keeping only the one lens, I will choose 105mm.
As for radioactivity… I had not seen any serial numbers specifications for Takumar 6X7 lenses on the Internet. But radioactive glass should be yellowing looking through it. And this is the key to determine such lenses. Also, yellowing may be repaired by exposing under the ultraviolet. Anyway, it should remain radioactive.
Refer to this article to get more info about differences between 105mm lenses. And to this article on emission details.
Алексей
Вставлю свои 5 копеек касаемо объектива 90 mm f/2.8 LS. Они как оказалось, тоже радиоактивные, причем в интернете об этом нет никакой информации (в том числе и в списке объективов на камеропедии). Проверено лично, а также подтверждено другим владельцем такого объектива.
Sasha Krasnov
Круто, спасибо за инфу!
Yucel
How sturdy is the Mamiya G2 bellows?
Sasha Krasnov
It is sturdy quite enough to use it on Pentax 67 lenses. I added only the one additional adapter. It does not impact on overall quality.
Artur
thanks for the test and the article
Sasha Krasnov
Thank you for visiting my website and for the feedback!
Arved
I love the look of your images here. I’m considering the 105/2.4 for use on a Pentax 645N with an adapter. It’s pretty popular among P645 users for portraiture. Your street photos show it’s adept there, too.
What film and developer are you using?
Sasha Krasnov
Hi, Arved,
Thank you for the feedback. I use Kodak D-76 and Rodinal (Fomadon R09). Usually, it depends on the film speed and availability of each developer in local stores.
Sean
I just purchased the Pentax 645nii and the SMC 105 2.4 (first film camera!), and used this setup for the very first time just a few days ago. I love the images online that I have seen produced with that lens and body pairing. However, I noticed that my lens looks blurry through the viewfinder around the edges. To the point that I am not able to compose and focus a full body shot of my subject (their body will be in focus, but their faces look blurry). This causes me to center on their faces, focus, and then recompose the shot hoping that I did not lose focus when recomposing. Is this normal for this lens with the 645nii body? I am wondering if the 67 to 645 adapter is causing this to occur. Or if I purchased a bad lens. I would love your input! Thanks.
Sasha Krasnov
Hi Sean,
thank you for visiting my website. I owned Pentax 645 many years ago until completely switched for Pentax 67. So, I can’t tell you for sure about this combination. But, in Pentax 67 you will not see a blurry image through the viewfinder around the edges. It means that everything should be OK with Pentax 645 of course. It is normal for any lens to be a bit softer on the edges than in the center. But it should not be noticeable in the viewfinder of course. Mostly, I used Pentax 67 90mm F2.8 with Pentax 645 because it is more closely to Pentax 645 75mm F2.8 standard lens which I had not. And I have to prove that was everything OK with this combination. I used the original 67 to 645 adapter. It seems the problem in the adapter, but not in the lens. Which one do you use?
Gregory Rogalsky
Love your work ..
Sasha Krasnov
Thank you!
Rob
Sasha, you take really sensitive portraits. Very impressive! I came here as I was looking for info on Pentax 67 lenses, and I stayed to look at all your images. 🙂
I have just bought on eBay a 67 with four lenses, the 75, 105, 200 and 300. I know all the lenses will not be the same quality, but they might still be useful for a variety of situations.
Best wishes from Edinburgh! And thank you for your great website.
Rob
Sasha Krasnov
Thanks a lot, Rob for the feedback. It’s so much important to me! You got a great set suitable for most situations. The 75mm F4.5 lens is a good option, relatively cheap and sharp lens with nice bokeh. I got it recently. Takumar 200mm F4 is not so bad as it often described on various forums. It’s a quite underrated lens.
Have a great shooting!
Larry Henderson
Great article, thank-you. I did however note a small mistake. You stated “Its close focusing distance is just 100cm, as compared to 65mm in a 90mm lens.” The 90mm lens has a close focusing distance of 65cm not 65mm.
Sasha Krasnov
Thank you so much Larry for pointing me to this mistake!
Abbazz
Hi Sasha,
In order to capture close-up portrait or still-life pictures with your P67 lenses, you might want to check the Pentax close-up additional lenses. There are three of these close-up lenses in 67mm filter thread for Pentax 67:
– S82 for standard focal length lenses (S stands for Standard and 82 is the focal length in mm: 82mm or 1.22 diopter). This close-up lens was designed to be used with the 90/2.8, 90mm LS or 105/2.4 P67 lenses. With the 105mm lens, it allows to focus from 1m down to 0.5m for a max magnification ratio around x0.25 (tight frame headshot).
– T132 for telephoto lenses (T stands for Telephoto and the focal length is 132mm or 0.76 diopter). Must be paired with the 150/2.8, 165/2.8 or the newer SMC Pentax 200/4
– T226 for longer telephoto lenses (226mm focal length or 0.44 diopter). This lens was designed to be used with the older 200mm Takumar lens.
These add-on lenses are achromats (they are made of two elements for better correction of chromatic aberration) and they deliver superb results when used with the indicated lenses. The main advantage is that, contrary to textension tubes, there is no additional light loss even when used at maximum magnification. The main drawback is that they are very difficult to find nowadays…
Sasha Krasnov
Hi Abbazz,
thank you so much for this valuable information! I heard about these close-up attachment lenses but have never seen them on eBay.
Abbazz
I bought mine from Yahoo Japan with the help of a proxy. The convenience is well worth the pain of tracking them down to the other side of the world!
Scott Micciche
Sasha, another great review on the 105, thank you so much! I thought I would post my experience de-yelllowing a late model Super Tak SMC. I used an LED reptile UV-C lamp (no heat generation) and within 3 days, it was cleared. I went this route due to no heat being used and the UV-C being more effective, or as effective as leaving the lens in a window or outside (never do this!).
Sasha Krasnov
Thank you Scott for reading the article and for the additional information! Congrats on successful de-yellowing! That’s great. I guess leaving the lens under direct sunlight may overheat the grease inside the lens and it may flow out.
Anthony
Hello, I’m going to purchase the Pentax 67 system with 105/2.4 in the next two weeks and I cannot find any instructions about the Auto/Manual Switch function. Can you please provide information on its use and function, please? Thank you
Sasha Krasnov
Hi,
it’s the depth of field preview lever. Nothing special. Pentax also recommends closing the aperture manually when working with extension tubes #3, #3+1, #3+2, #3+2+1.
Anthony
Thank you for your reply. If you don’t mind me asking one more question, I’m curious how this lever should be set during normal operation? Can I leave it on Auto, or does it act similar to the Spotmatic metering system? I really appreciate your great 67 lens reviews. Thank you.
Sasha Krasnov
No worries, you may ask me as many questions as you want. Considering your question — just leave it in the “Auto” position. Push it to the “Manual” position only for the depth of field preview purpose, and then switch it back. Spotmatics has a stop-down metering system, whereas Pentax 67 has an open-aperture metering system with the “TTL Prism Finder”. It determines the actual aperture values you could set on the lens by a special chain link coupled to the aperture lever. So, turning the aperture ring moves the meter needle in the viewfinder immediately.
Anthony
Thank you so very much! I was afraid of not knowing how to proceed. I value your informative website and knowledge very much. Thanks, again.
Ghaleb
Hello Sasha,
Thanks for this insightful and sharp content. I wanted to ask you please if it’s normal and common to have little “friction” when mounting some lenses on a Pentax 67ii. Mounting the 105mm (SMC Takumar) on my camera is smooth, but the 90mm 2.8 (SMC) feels a bit tighter.
Thanks and best wishes,
Ghaleb
Sasha Krasnov
Hello Ghaleb,
I have the same issue with some lenses with both of my Pentax 67 and Pentax 6X7 bodies and I don’t care about it.
Luli
Ghaleb,
obrigado pela sensibilidade do teu conteúdo e nítida paixão pelo que faz. isto motiva e toca também a minha paixão – pela fotografia e pela 67!
eu tenho a uma Asahi 67, com apenas 1 lente, a 55/3.5. esta foi a configuração que o investimento permitiu e no início eu temi que ela não me atendesse. até então, minha experiência era com minha 50mm/1.4 na Spotimatic.
definitivamente, essa configuração tem me atendido em todas as situações! praticamente foco em retratos e rua, quase sempre com o assunto sendo pessoas e eu sou apaixonado por essa câmera, enquadramento e profundidade / nitidez das imagens finais.
eu admiro muito suas fotografias, tembém! até breve, um abraço caloroso aqui do Brasil!